
Lesson 1
How to login
Learn how to login to your new ecommerce store.
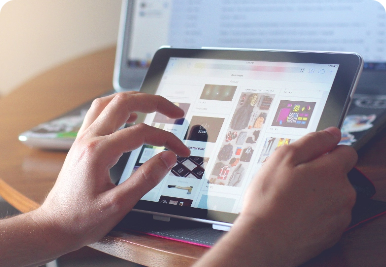
Lesson 2
Overview of your store’s admin panel
Learn how your store admin panel works and how easy it’s going to be to manage everything about your new store.
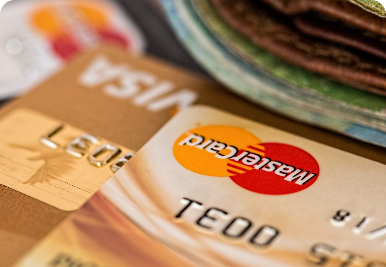
Lesson 3
How to enable a payment provider
Learn how to enable a payment provider for your store so you can start accepting payments online from your new store.
Lesson 4
How to create product categories
Learn how to create and assign product categories to your eCommerce products.
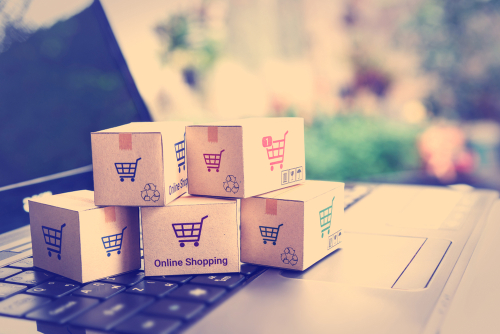
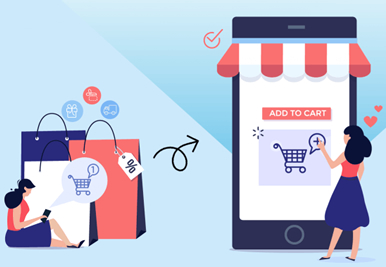
Lesson 5
How to list your first product for sale
Learn how to create and list a new product for sale on your store in this step-by-step tutorial.

Lesson 6
How to create your first print-on-demand product
Learn how to use our Printful or Printify apps to create a print-on-demand product in minutes.
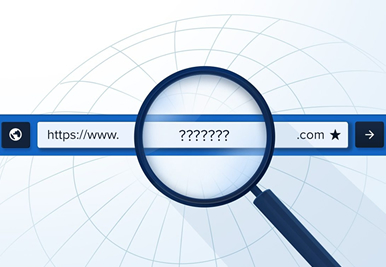
Lesson 7
How to add a custom domain to your store
Learn how simple it is to add a custom domain to your store.

Lesson 8
How to add staff accounts
Learn how to invite staff members to help manage your online store
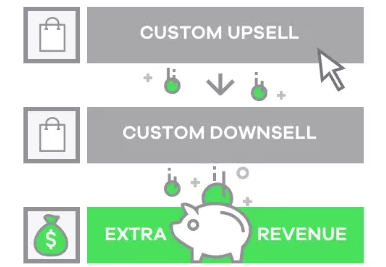
Lesson 9
How to add bump offers, upsells, and downsells to increase profits.
Learn how to use the “automatic upsell flow” builder to increase your store’s profits.
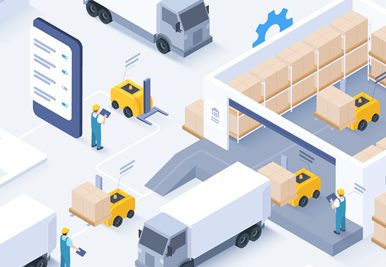
Lesson 10
How to manage your inventory
Learn how to control your inventory settings, and inventory amounts.
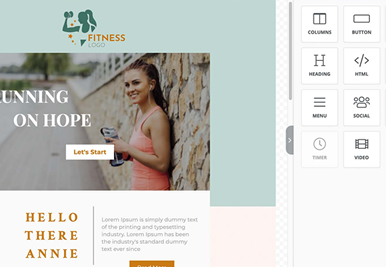
Lesson 11
How to create custom pages, sales pages, and landing pages
Learn how to use the drag ‘n drop page builder to build any page you want.
Lesson 12
How to customize your checkout page
Learn how to improve conversions on your checkout page by customizing it.
Lesson 13
How to customize the navigation menu
Learn how to add navigation links to your ecom store.